
Workflow
From Stills to Motion: Walkthroughs From Your Renders
Renders show what a design looks like. A walkthrough shows what it is like to be there, and it can now start with the visualizations you already have.
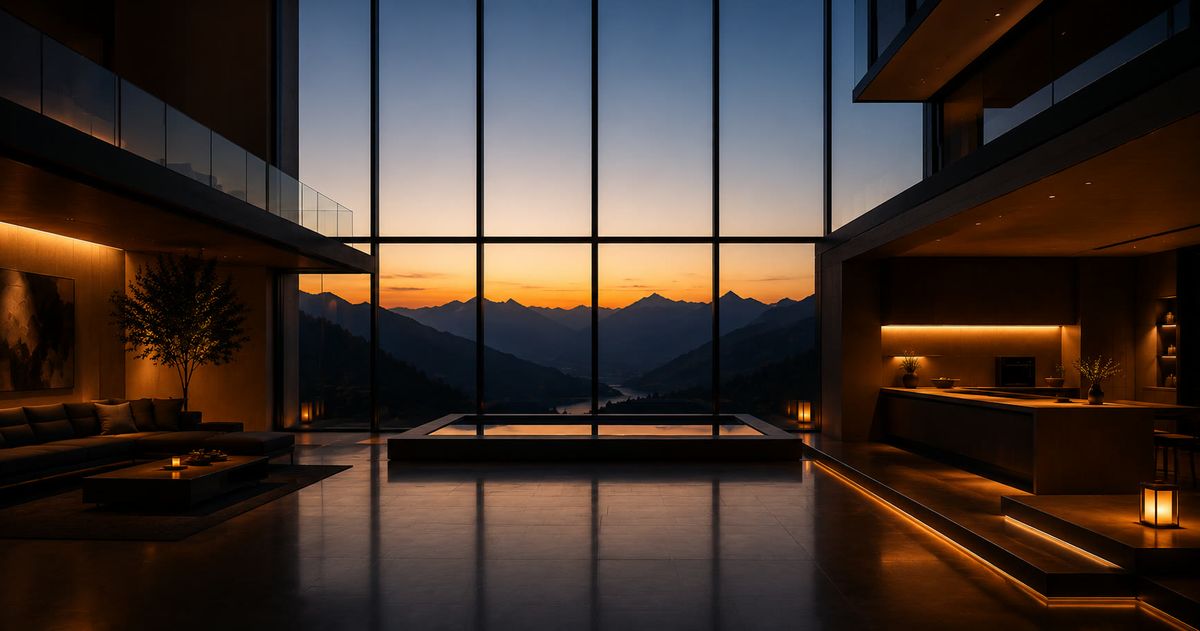
Plans, drawings and even beautiful renders can leave a client trying to imagine what the finished space will actually feel like. A still image answers the question "what does it look like?" very well. It is less good at "what is it like to be there?"
That second question is where a lot of design conversations stall. The client studies the render, asks about the view from the kitchen, wonders how the stair connects to the upper floor, and the designer ends up explaining with words and hand gestures what the space already does.
Why motion changes the conversation
A walkthrough lets a client move through the design in sequence: arriving, turning, looking up, stepping into the next room. The relationships between spaces, which are obvious to the person who drew them, become obvious to everyone else too.
That matters most at the moments when understanding drives a decision:
- Pitches, where the goal is to make a proposal feel real before it is won.
- Approvals, where a client needs confidence to say yes to a layout, a material or a volume.
- Design presentations, where a team wants the design to explain itself rather than rely on a long verbal walk-through.
The old trade-off
Traditional architectural animation often meant rebuilding a scene, setting up a dedicated animation workflow and spending weeks taking a project from stills to motion. For many projects that separate production effort was hard to justify, so the walkthrough simply did not happen, and the stills had to carry the whole presentation.
Starting from the work you already have
Our AI-assisted workflow changes that trade-off. Existing visualizations can become the foundation for a cinematic walkthrough, produced in days rather than weeks. Instead of beginning a new production from scratch, the walkthrough begins with approved renders that already capture the materials, light and design intent the client has seen.
The process follows a simple sequence:
- Approved visualizations. The renders you are already confident in become the starting point.
- AI-assisted production. Motion is built from those images, keeping the look the client has already approved.
- Direction, movement and pacing. This is where the craft is. Where the camera enters, what it lingers on and how one space opens into the next decide whether the result feels like architecture or like a slideshow.
- A client-ready experience. The finished walkthrough is made to be shown in a meeting, shared after it, or built into a larger presentation.
What makes a good starting set
The most useful renders for a walkthrough are the ones that already tell the story of the space: an arrival view, the main living areas, and the moments the design is proudest of, such as a view, a double-height volume or a material detail. If a view is not in the renders yet, it can be created as part of the visualization stage first.
Plans, sketches, site layouts and 3D models are just as valid as a starting point. Renders simply let the walkthrough start further along.
Understanding first, technology second
The point of a walkthrough is not the technology behind it. The point is that a client leaves the meeting understanding the design the way its designer does. Every great design deserves to be understood, and movement is often the most direct way to get there.
If you have a project with renders that are doing a lot of explaining, see how walkthroughs work or start a conversation about turning them into one.