Workflow
Rendering From Sketches: No 3D Model Needed Yet
You don't need a finished 3D model to get photoreal renders. Here is what to send when you only have sketches, plans or references, and what we lock first.
The design is good. The client just hasn't seen it yet, and it still lives in sketches, a marked-up plan and a folder of references.
Many rendering services start from your finished 3D model. That works when you have one. Early in a project, most studios don't, and that is often exactly when the client needs to see the design.
What “no 3D model” means for a render
It means we build the model from your drawings. The real question is how much we have to interpret. The more you send, the less anyone guesses.
What to send
- Plans with key dimensions. Scanned or hand-drawn is fine.
- At least one elevation or section sketch. Heights and roof form are where most guessing happens.
- A site plan or marked-up site layout. For context, orientation and grading.
- Material and finish references. Photos, a mood board or product links.
- The views you want. Rough arrows on the plan are enough.
- What the client must take away. This decides which views matter most.
What we lock before any material goes on
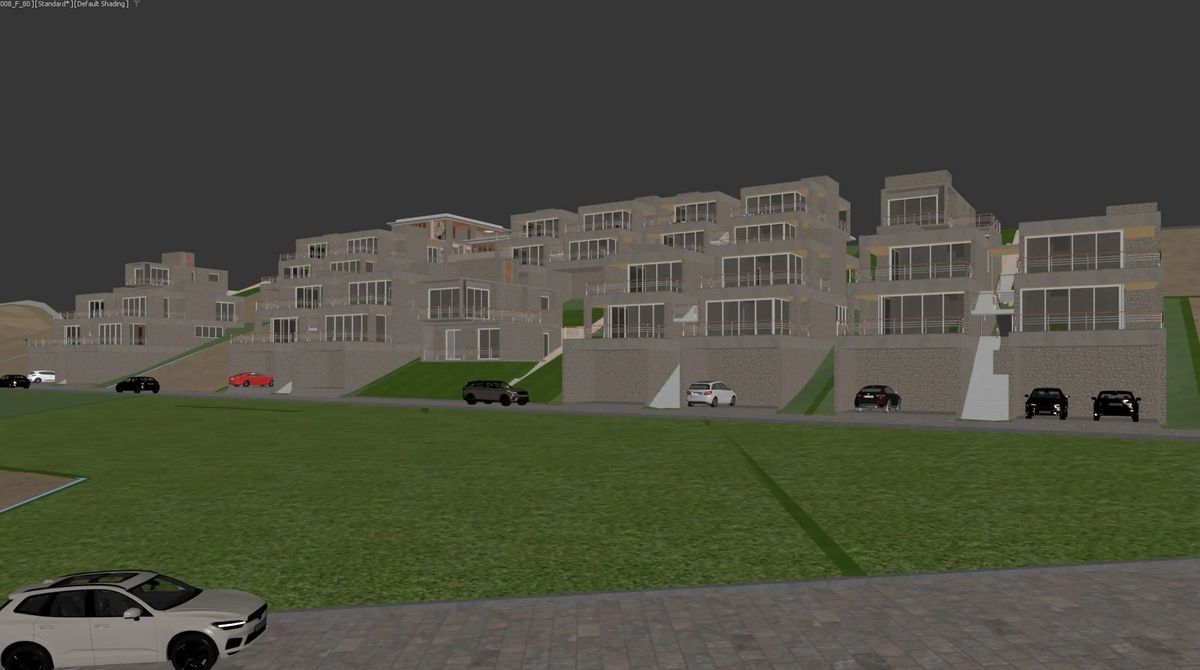
Geometry and proportion come first. We build the massing and check it against your drawings: heights, openings, roof lines, grading. You review the gray model before anything is made photoreal.
Changing a roof pitch on a gray model is a quick fix. Changing it after the final render means rendering again. That's why one review round is enough: the corrections happen at the stage where they take the least effort.
Example: Lions Hill (client project)
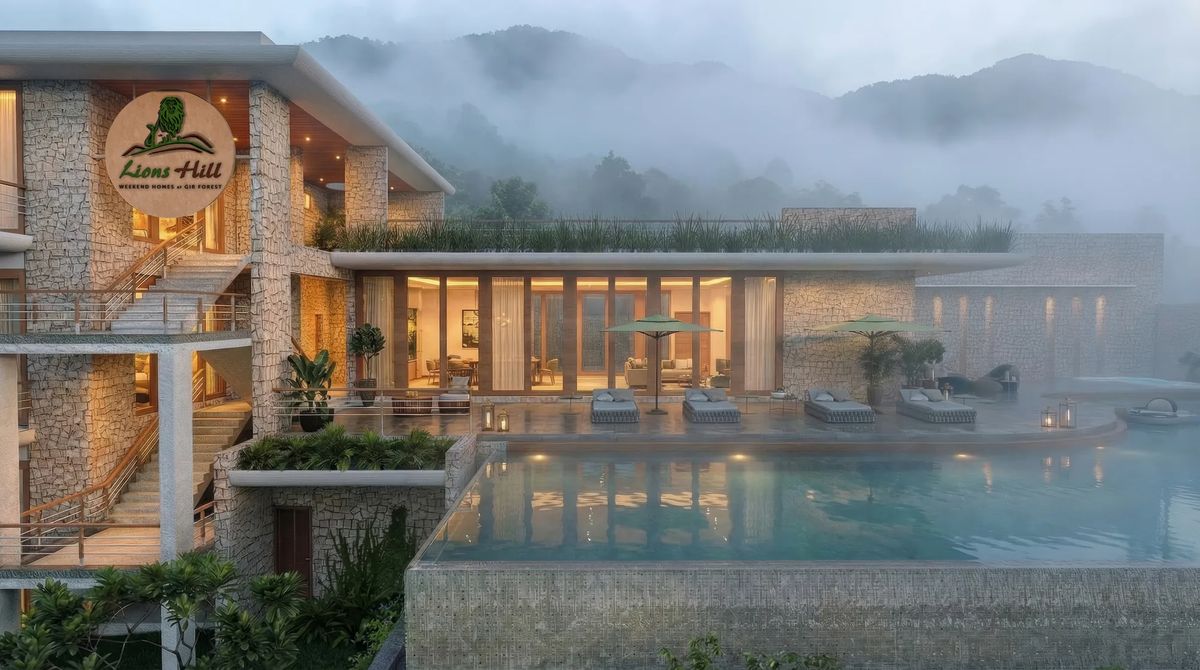
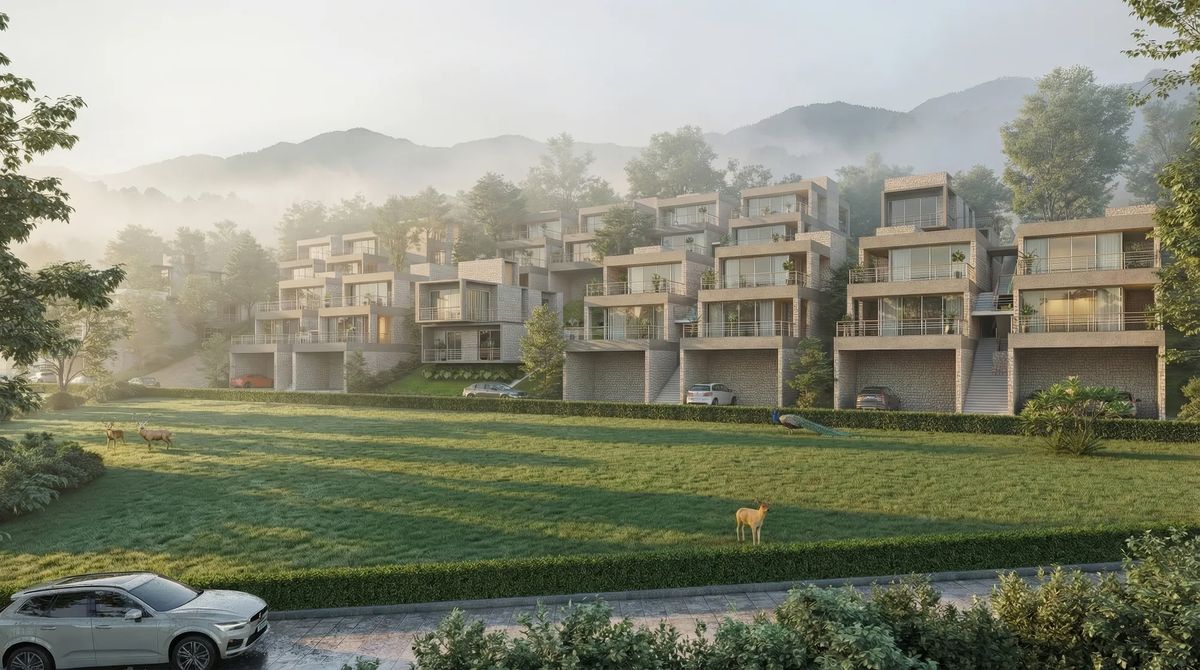
Lions Hill is a terraced weekend-home community on the edge of Gir Forest, sold off-plan before the site was built. We didn't start from a finished model. We started from a site plan and the unit stacking.
We built an accurate massing model first and locked the grading and proportion. Then we rendered the gate, the clubhouse, the pool deck and the villa terraces, all to one standard. The result was a full set of stills sized for the brochure, hoardings and the listing site, ready to hand to a sales team.
When the drawings have gaps
Most sketches leave something open: a ceiling height, a roof edge, a railing detail. We list those as questions before modeling starts, instead of quietly making assumptions that show up in the render. You answer once, and the model is built on your decisions.
You shouldn't need to produce a new deliverable just to see the one you already have. Every great design deserves to be understood.